Stacy and I support the Taste of Howell Mountain auction every year which is a wine tasting and auction that benefits the Howell Mountain Elementary School. The only public school on the mountain. Our good friends Jacalyn and Allen Spence have been building a boutique winery around their home off White Cottage Road in Angwin up there. She is the President of the Howell Mountain Vintner's and Grower's Association that produces the auction each year. This year Spence Family Vineyards has teamed up with Summit Lake Vineyards to host a dinner and movie party for fifty at Summit Lake on September 12 as one of the auction items. Since I have been unemployed for several months now, Stacy and I decided we wouldn't bid at the auction, so I volunteered to cook the meal for the September 12 party. The party is oversubscribed for 52 diners at $100 per person, which is a huge success. Of course when you add in the staff to support the event, I have to plan and execute a meal for at least 60 people at a location that has limited kitchen facilities.
 The first step to planning a dinner party is to align all stakeholders on the vision for what a successful event is. The criteria we agreed on are:
Elegant outdoor dining experience for the guests that will be served in the vineyard
Pair the entree with Howell Mountain Cab
My constraints include :
Cook off site and transport to the dinner
Make the meal profitable for the charity
Use volunteers as kitchen and service staff
Limited kitchen facility at the dining location
Once we agreed on the vision for the meal and understand the constraints, then comes the menu planning. With that many people there will likely be some folks that subscribe to a vegetarian diet, so the menu will be all vegetarian except the entree which will have both a meat and vegetarian option. Elegance means multiple courses served on individual plates delivered to the diners at the table versus a buffet style meal. I decided to execute a five course dinner with four courses served cold and the entree served hot. Here's the menu:
Appetizers
Heirloom Tomato Bruschetta
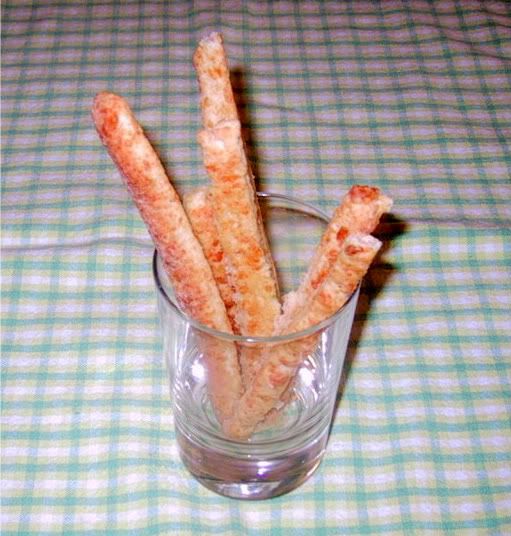
Hardy Lodge Cheese Straws
Soup
Salad
Heirloom Tomato Salad Napoleon with Bufula Mozzarella and Basil
Entree
Lamb Shanks braised in Howell Mountain Cabernet with Germolata
Atop Tuscan Runner Bean Puree
or
Tuscan White Beans in Howell Mountain Cabernet Sauce with Germolata (vegetarian)
Gorgonzola Polenta
Dessert
Flour-less Chocolate Cake with Homemade Raspberry Ice Cream
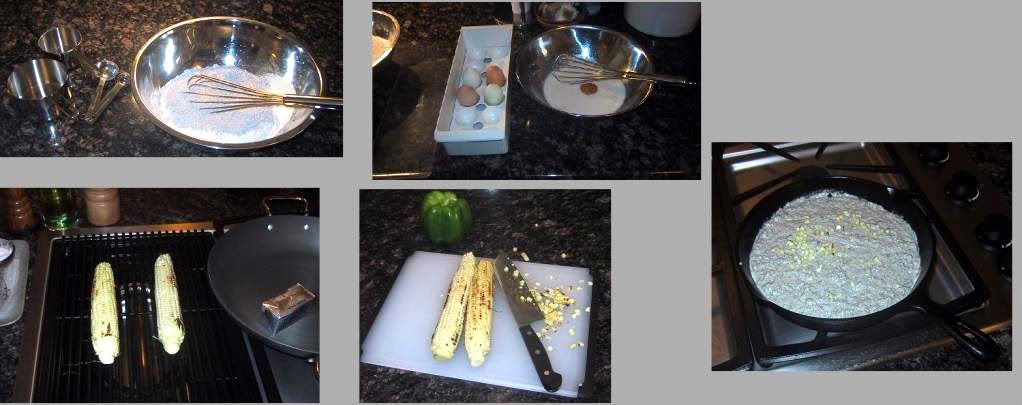
Sounds good, huh? Note that only one course is served hot which is braised. This entire meal can be made days ahead with minimal cooking for service. Also, note how the appetizer links to the salad course. The salad is made by slicing tomatoes of different colors; staking four slices per serving then cutting the stacks into perfect squares. This creates a beautiful presentation while removing the skins from the salad. The trim is then chopped into small chunks for the bruschetta so that nothing is wasted. The dressing for the salad is the same as the bruschetta. To make the meal more interesting, the bruschetta will be served on a baguette slice that is brushed with garlic-infused olive oil. That way the two dishes become distinctly different despite being made from common ingredients. Also, since the soup course separates the appetizers from the salad course, the diners will feel that the meal is diverse and varied. And also beautiful and delicious. Also, there are two appetizers that are completely different to add depth and complexity to the tastes the diners will experience. All while making it easier for the cook to execute the meal. The cheese straws will be baked that morning and served room temperature.
The soup is served cold, so it is easily transported. However, the dish does present challenges: While the stock of the soup is a combination of white onions and corn husks, which can be made days ahead and chilled, avocado easily spoils, which is the meat in the soup. The soup will be made one day ahead and transported in coolers then the avocado balls added on-site so that the avocados are transported in their shells and processed right before serving to ensure freshness. Another challenge in the soup is the cilantro oil since the herb carries bacteria that are harmless until they see an environment with no oxygen, like being suspended in olive oil, so the cilantro oil must be made about an hour before service. The ingredients will be blended on-site to execute that ingredient and avoid making any diners ill. The tomatoes are also a challenge to keep them fresh, so they will be cut on-site and the slices refrigerated until time to serve the salad. The entree will be made days ahead, which makes a better product since the flavors marry in the dish. It will have to be re-heated on-site, so we need oven space for 60 lamb shanks. That will be a challenge. The ice cream will be made ahead and brought frozen. Cakes can be made ahead too, so that won't be hard.
I will describe the process for planning the execution of the meal in an upcoming blog. Stay tuned!
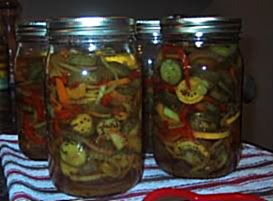
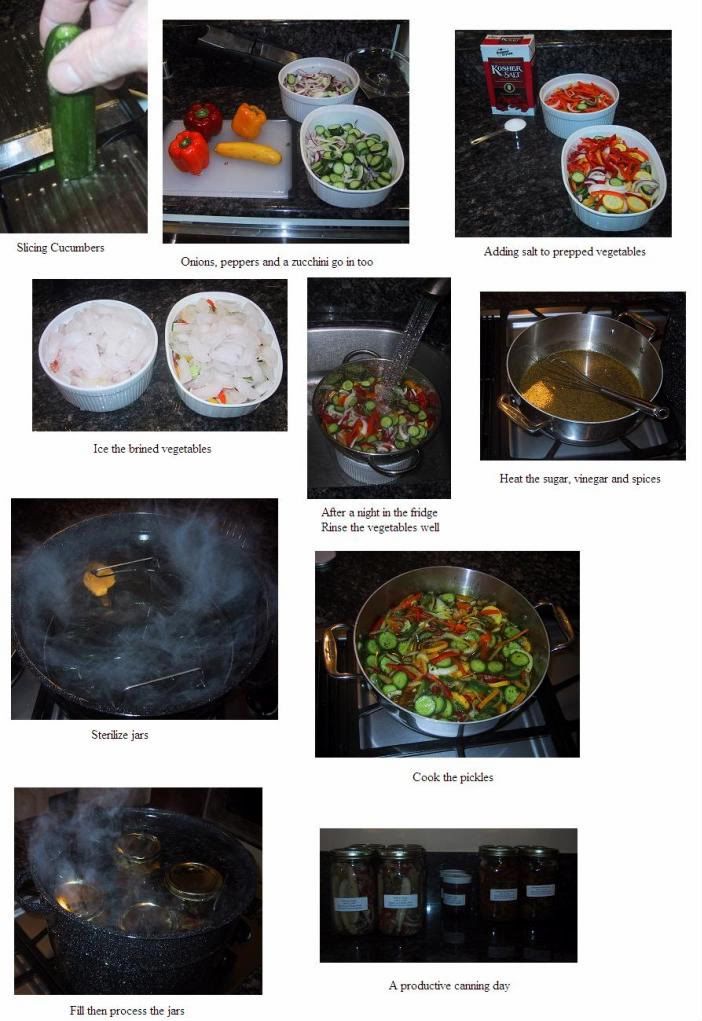
 Sometimes we buy more pluots and plums than we can eat at the farmer's market. We also grow Santa Rosa Plums in our yard and a guy that works with Stacy brings Santa Rosa plums to the office to give away. The season is so short every year that we want to gobble up as much of the delicious fruits as possible, but we can only eat so much. So I use the extra to make jam.


 the ladle.